How to Connect a Joystick Controller to Manage Multiple PTZ Cameras
Share
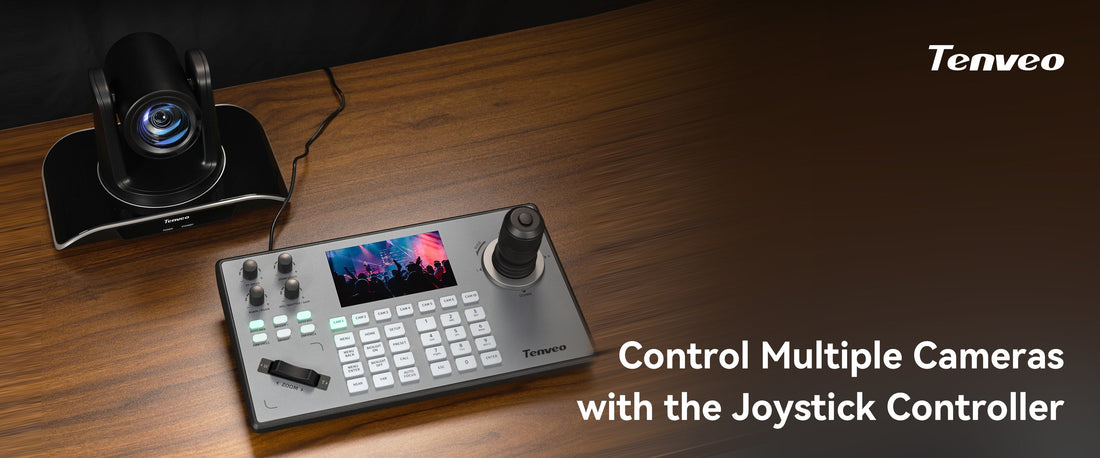
Managing multiple PTZ cameras with a joystick controller is essential for smooth live production, conference control, or broadcast setups. In this step-by-step guide, we’ll walk you through how to connect and configure Tenveo PTZ cameras with a joystick controller using ONVIF, VISCA over IP, or NDI protocols.
🔌 Part 1: Hardware Connection
Note: Tenveo PTZ cameras support true PoE (Power over Ethernet), so no separate power adapter is required. DHCP is also supported for easy IP assignment.
-
Connect All Devices with Network Cables:
Connect your PTZ cameras and joystick controller to the network using Ethernet cables. -
Connect the Controller to a PoE Switch:
Use a network cable to connect the joystick controller to a PoE switch. -
Connect the PoE Switch to the Router:
This allows the devices to communicate and obtain IP addresses via DHCP. -
Power On All Devices:
PoE cameras are powered through Ethernet. Connect power only to devices that need it (like the controller).
✅ All hardware is now connected.
⚙️ Part 2: Prepare the Camera Settings
- Log into each camera’s web interface.
- Enable the ONVIF protocol.
- Enable DHCP to allow automatic IP assignment.
🎮 Part 3: Configure the Joystick Controller
- Press the SETUP button on the joystick controller.
- Navigate to Network Setting.
- Change the network type from Static to DHCP.
- Scroll to the end and press the joystick button to Save. The controller will reboot.
🔍 Part 4: Add Cameras via ONVIF
- After reboot, press SETUP and go to Device Search.
- Use the joystick to start the search.
- Select the cameras and tick the checkboxes to add them.
- Login using:
Username:admin
Password:admin - By default, cameras are added to Channel 8. You can change this to Channel 1 or any preferred channel.
- Return to the Device List to confirm that all cameras are added.
🔄 Part 5: Use VISCA Over IP for More Advanced Control (Optional)
Note: ONVIF may not support all advanced functions. For greater control, use VISCA over IP.
- Login to the controller's web interface.
Username:admin
Password: *(leave blank)* - Change the protocol to VISCA over IP.
- Set the port number to
52381. - Get the RTSP address from the camera:
- Log into the camera’s web interface
- Go to Network Settings → RTSP, then click Copy
- Paste the RTSP link into the controller interface
🌐 Part 6: Use NDI Protocol (Alternative)
If you're using NDI protocol:
- Configuration is similar to ONVIF
- No RTSP address is required
- Set the baud rate to
5961
✅ Protocol Summary
| Protocol | DHCP Support | RTSP Required | Port / Baud Rate |
|---|---|---|---|
| ONVIF | ✅ | ❌ | - |
| VISCA over IP | ✅ | ✅ | Port: 52381 |
| NDI | ✅ | ❌ | Baud: 5961 |
📌 Final Tips
- Always enable ONVIF or VISCA depending on your control needs
- Use DHCP to simplify IP assignment
- Assign each camera to a unique channel for easier switching
🎥 Watch the Full Setup Video
Prefer to follow along visually? Watch our full YouTube tutorial below:
💬 Need help? Contact us — we’re happy to assist!

